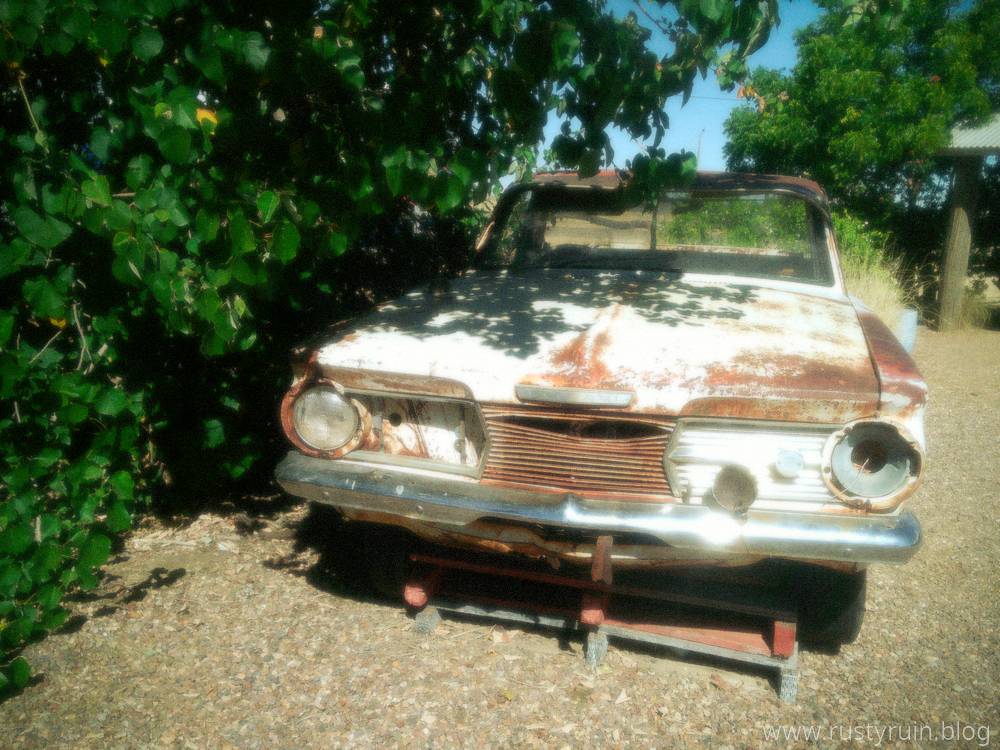
In my last post, I wrote about experimenting with the Focus module in Exposure X7 to add slight blur and bloom. This goes some way towards reviving the look of old soft lenses that lack modern anti-glare coatings. It’s potentially a great fit for the low resolution results from toy cameras like the Camp Snap and others because it reduces the ugly haloes around edges that have been aggressively sharpened.
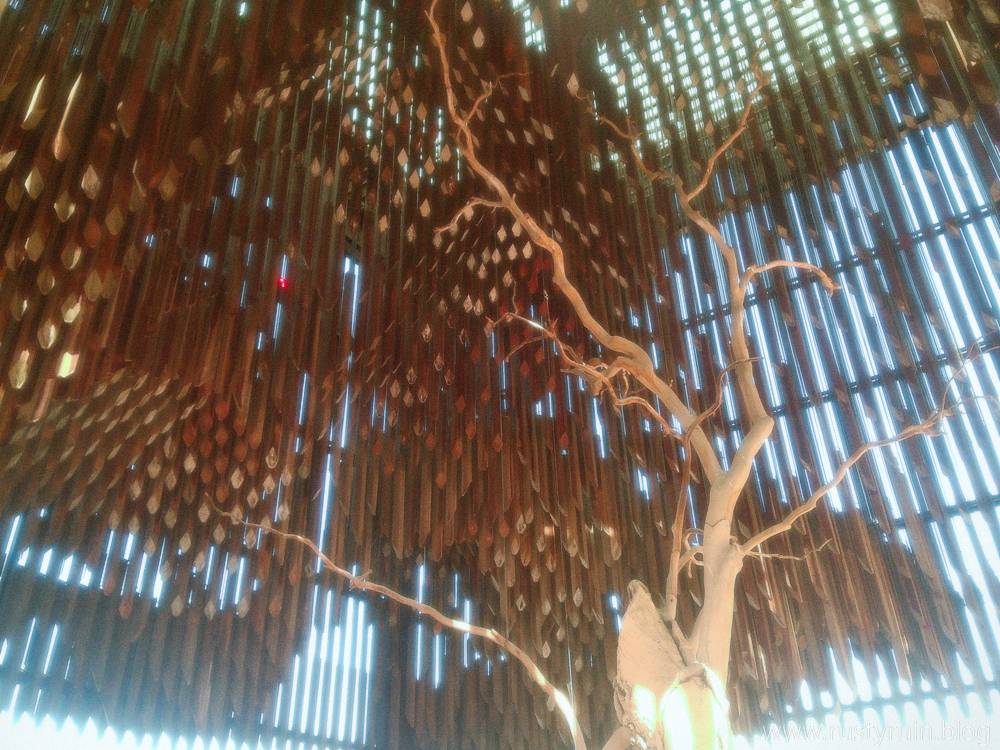
You can see in the photo of the Tree of Knowledge above that the Soften and Diffuse preset in the Focus module adds glow around the highlights, giving it an ethereal quality that contrasts well against the sharply angled boughs of the tree and the descending wooden timbers.
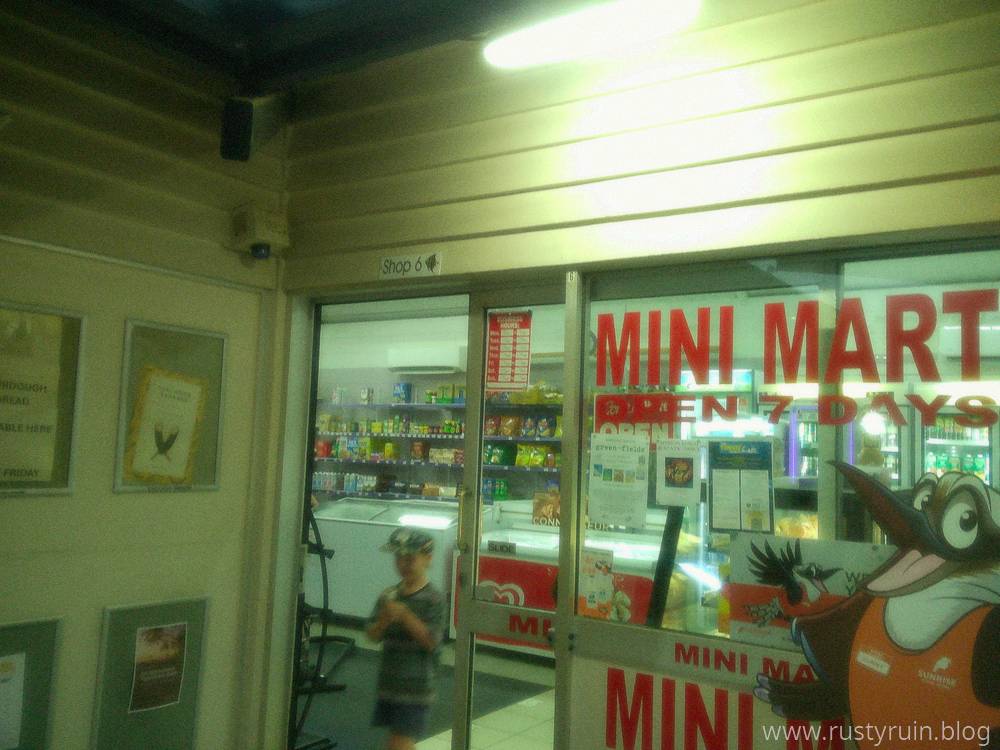
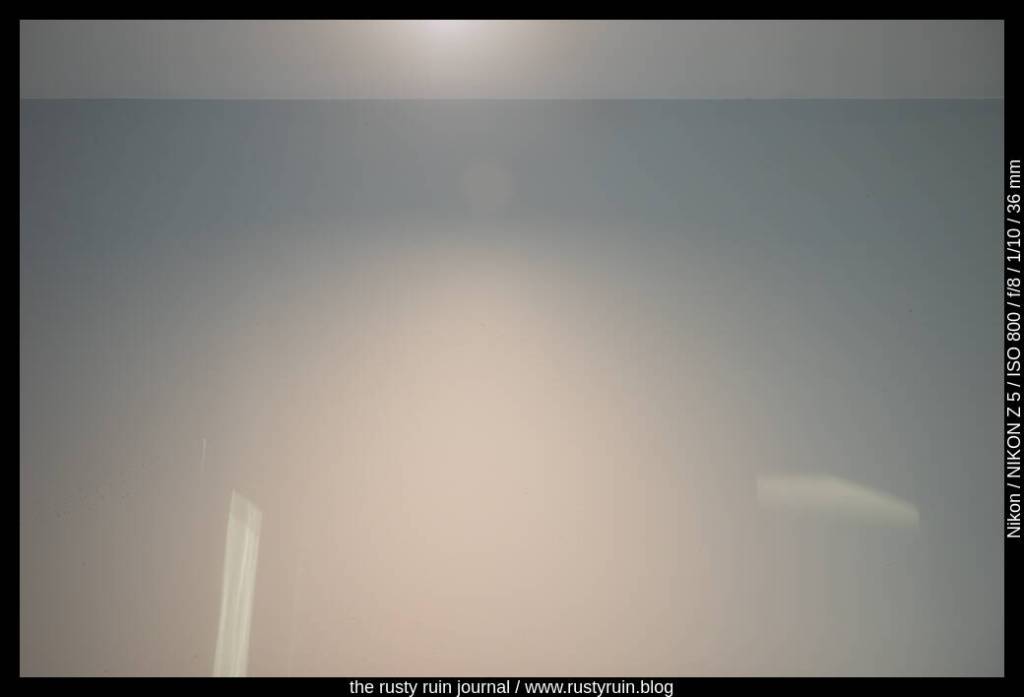
Here again, the highlights take on a nice soft glow. Everything seems ever so slightly blurred and the sharpened edges are softened considerably.
I think the glow effect in some of these photos is more pronounced because I’d used the Camp Snap with two filters attached: a Photape Warming filter, and a cheap diffusion filter that adds glow and softens highlights. I’ve since removed the filters and will experiment further.

You can see how the Camp Snap struggles to handle the strong red colour of the lantern. The result is a blown out mess where the details are lost.
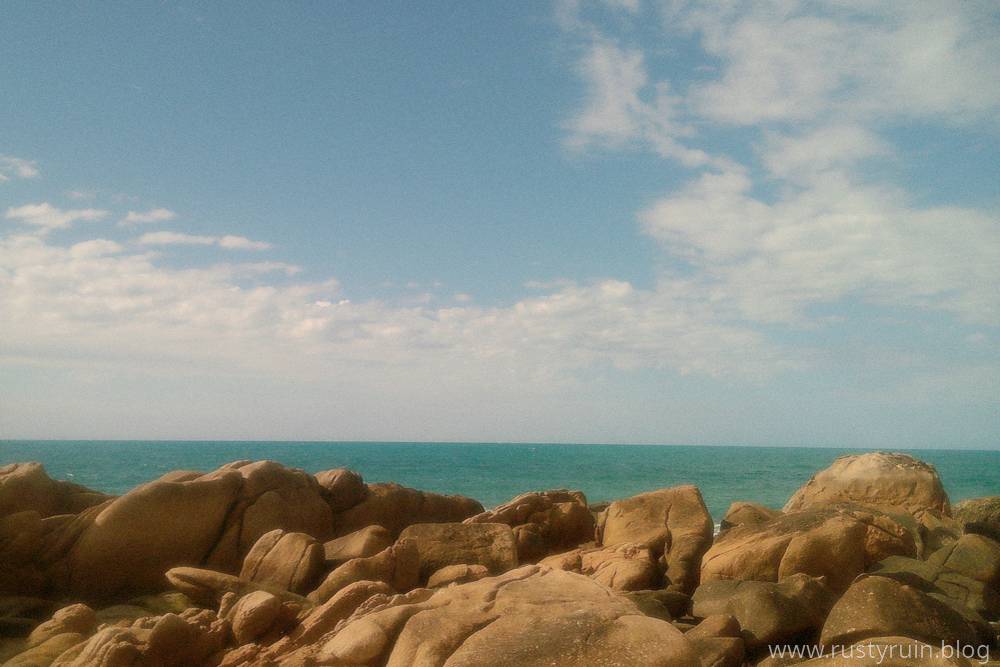
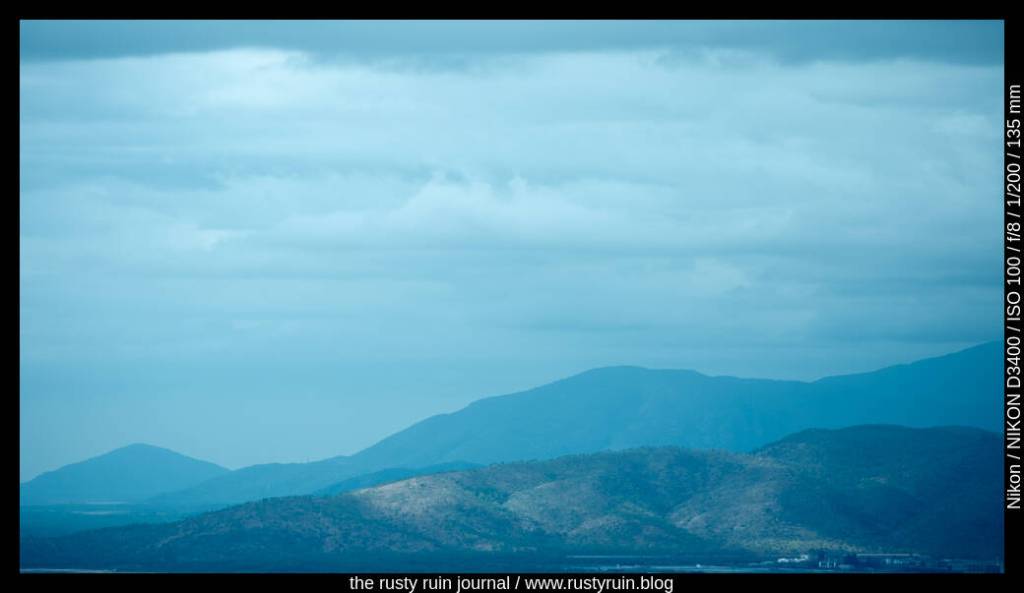
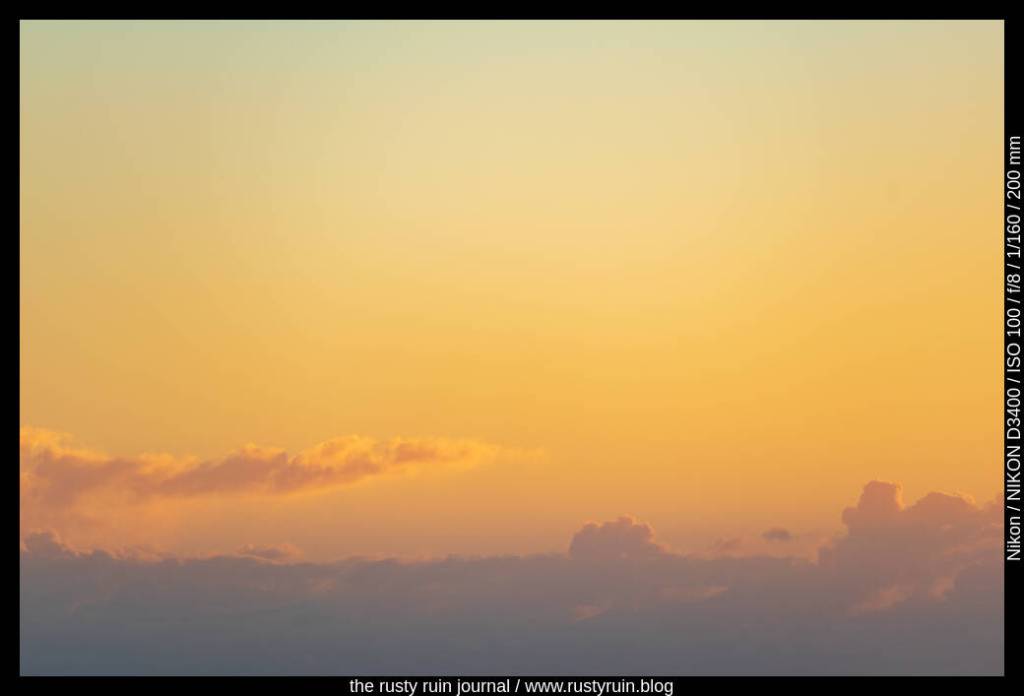
The Camp Snap is great for scenes like this, where there are more mid-tones than bright highlights – sky, sea, and cloud in distinct layers. It’s the kind of seascape that I might have snapped with my old Kodak 110 format film camera as a teenager.