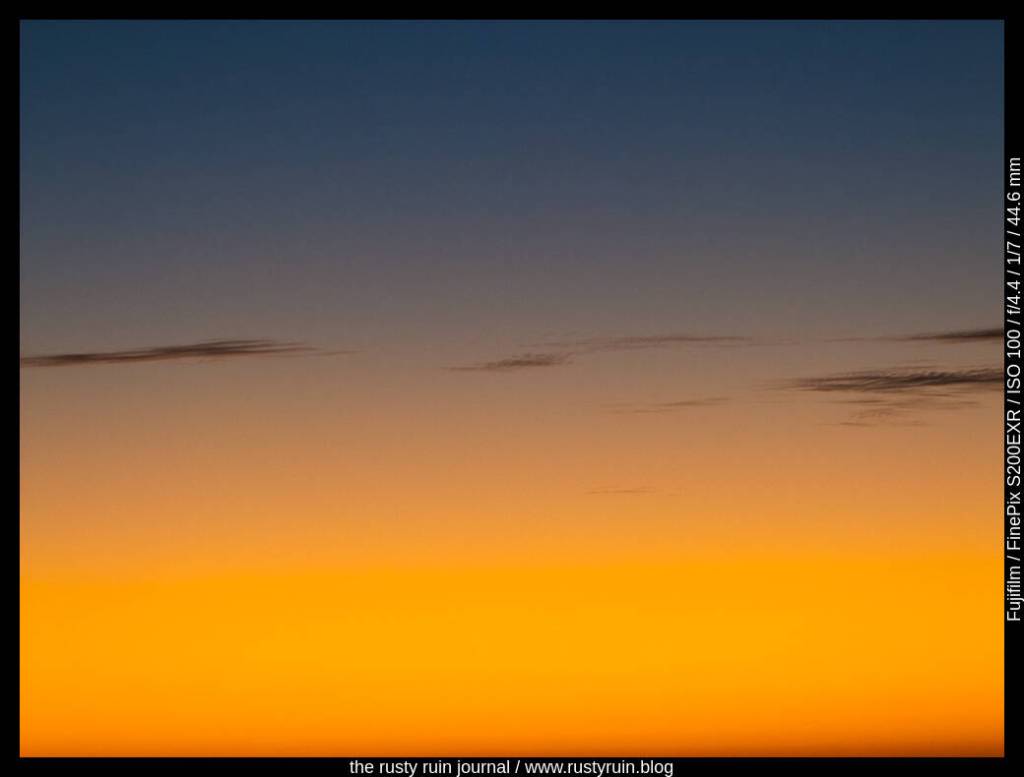
When I look at photos from over two decades ago, I see how my photographic knowledge has changed. Starting at the base of a mountain, one focusses on the first faltering few steps – they feel like everything and exclude all else. As one climbs further, the beautiful details of the landscape become a focus, and the feet simply move automatically, without thought. There’s always something to learn. One never reaches the ragged peak but remains intrigued by the mists shrouding it.
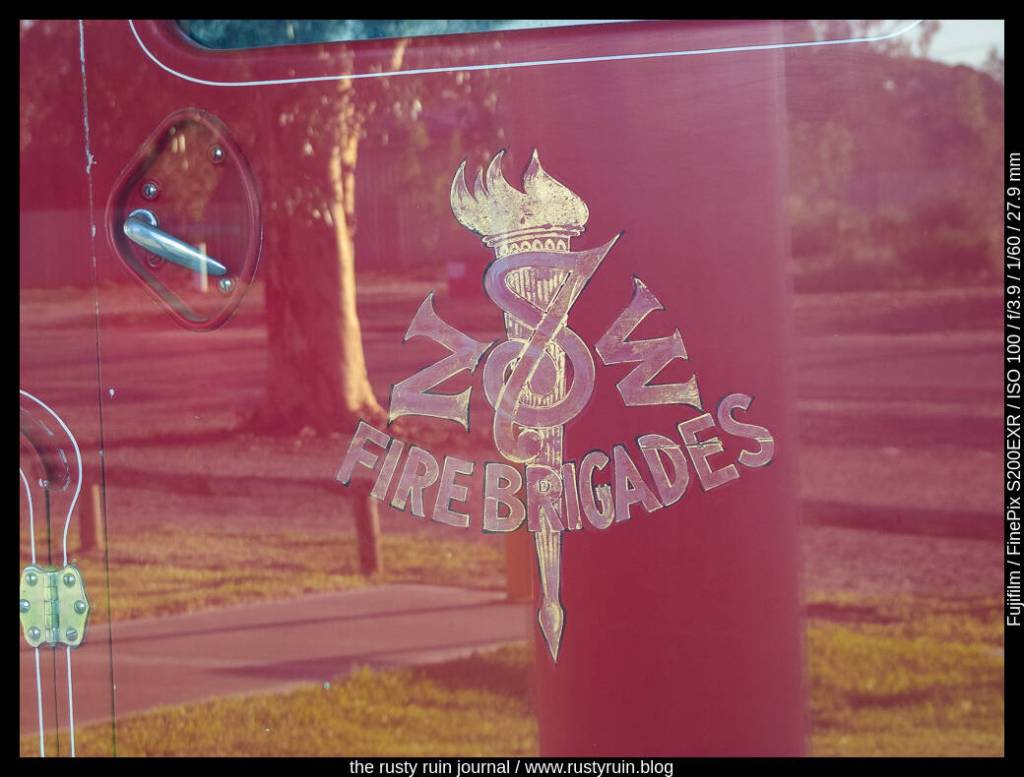
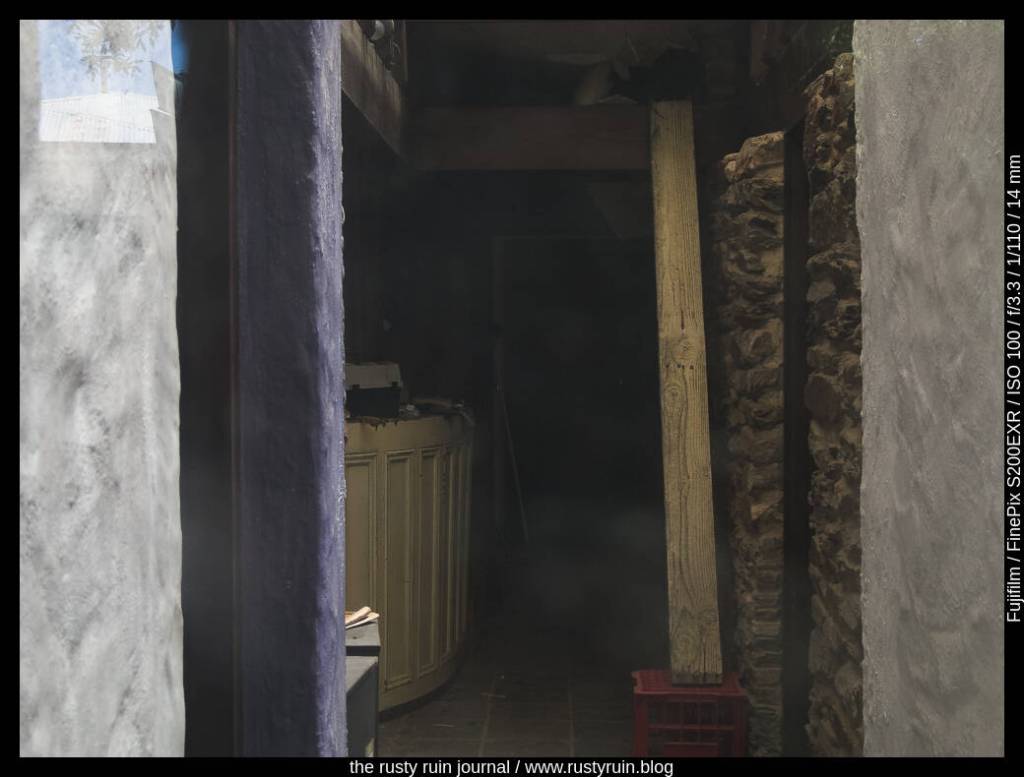
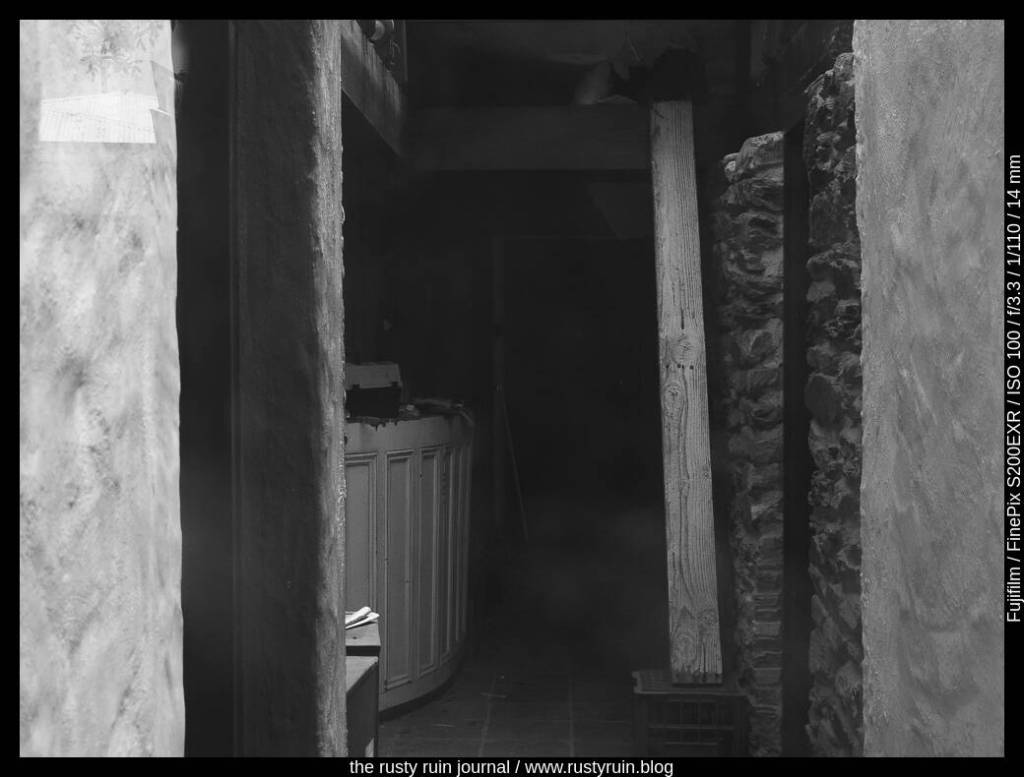
I like that the photo is reminiscent of a multiple exposure, The reflections of the glass add really interesting detail and texture to the red body of the old fire truck. When setting up for this photo, I was mindful of the placement of reflected background elements, and needed to position myself so the tree trunk didn’t cover either the door handle or the rather attractive insignia – two elements I really wanted to highlight.
Similarly, though it can’t be seen, there was an angled pole of misshapen proportions in the background I found distracting as I composed in the viewfinder. I stepped to the side to hide it behind the larger pole that runs through the NSW Fire Brigade symbol. These seemingly small decisions determine the final image and whether it remains a keeper or a delete.
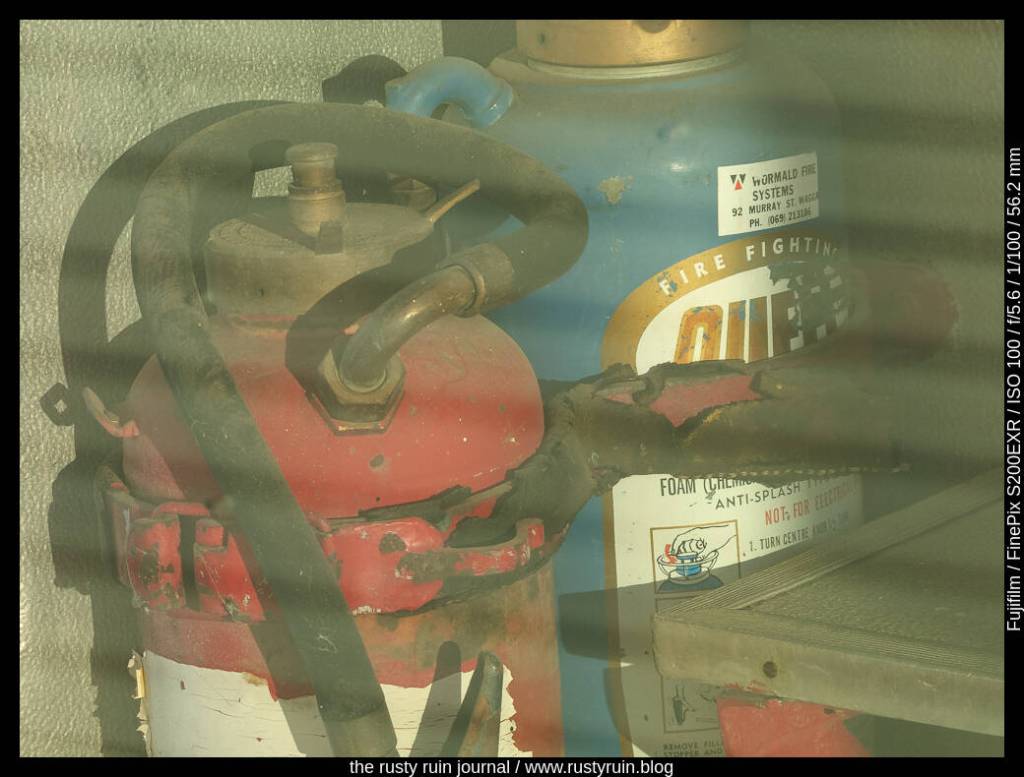
What I really enjoy about this photo is the quality of the light – the softness of it and the way it enhances the mistiness of the glass. It would be all too easy to add extra contrast to give it punch. It would also be easy to darken the equipment during editing to decrease the soft filter effect of the thick glass. But I think it works well without this additional contrast punch.
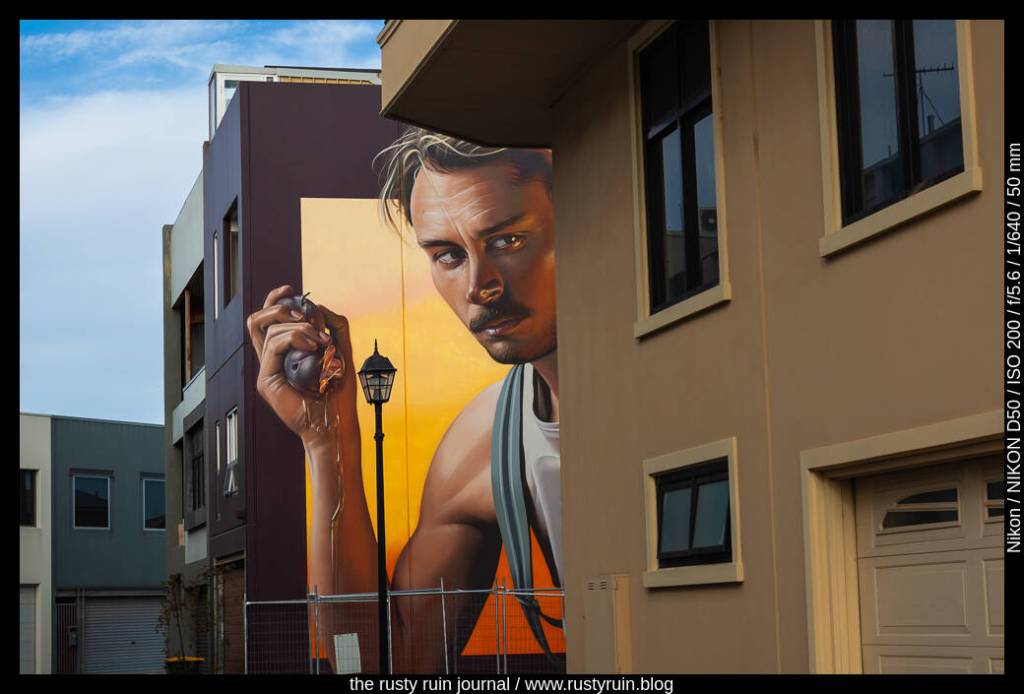
Even before making a photo, I strive to visualise what I want the photo to look like after editing, if possible. Multiple small decisions are made even before the shutter button is pushed – it may begin when I am drawn emotionally and imaginatively to a scene, but the process continues through technical cosiderations of aperture and so on, and then into my photo editor of choice.